Hi!
I’ve spent a considerable amount of time this year rewriting my Canastra project in Go. While I wanted to write a specific post about this conversion, it has been over 6 months, so it’s unlikely it will still happen. For the purposes of this post though, all it matters is that the project is now built in Go, but the frontend and database architectures are still the same as described in the project page, with Go now handling all the HTTP and Websocket communication.
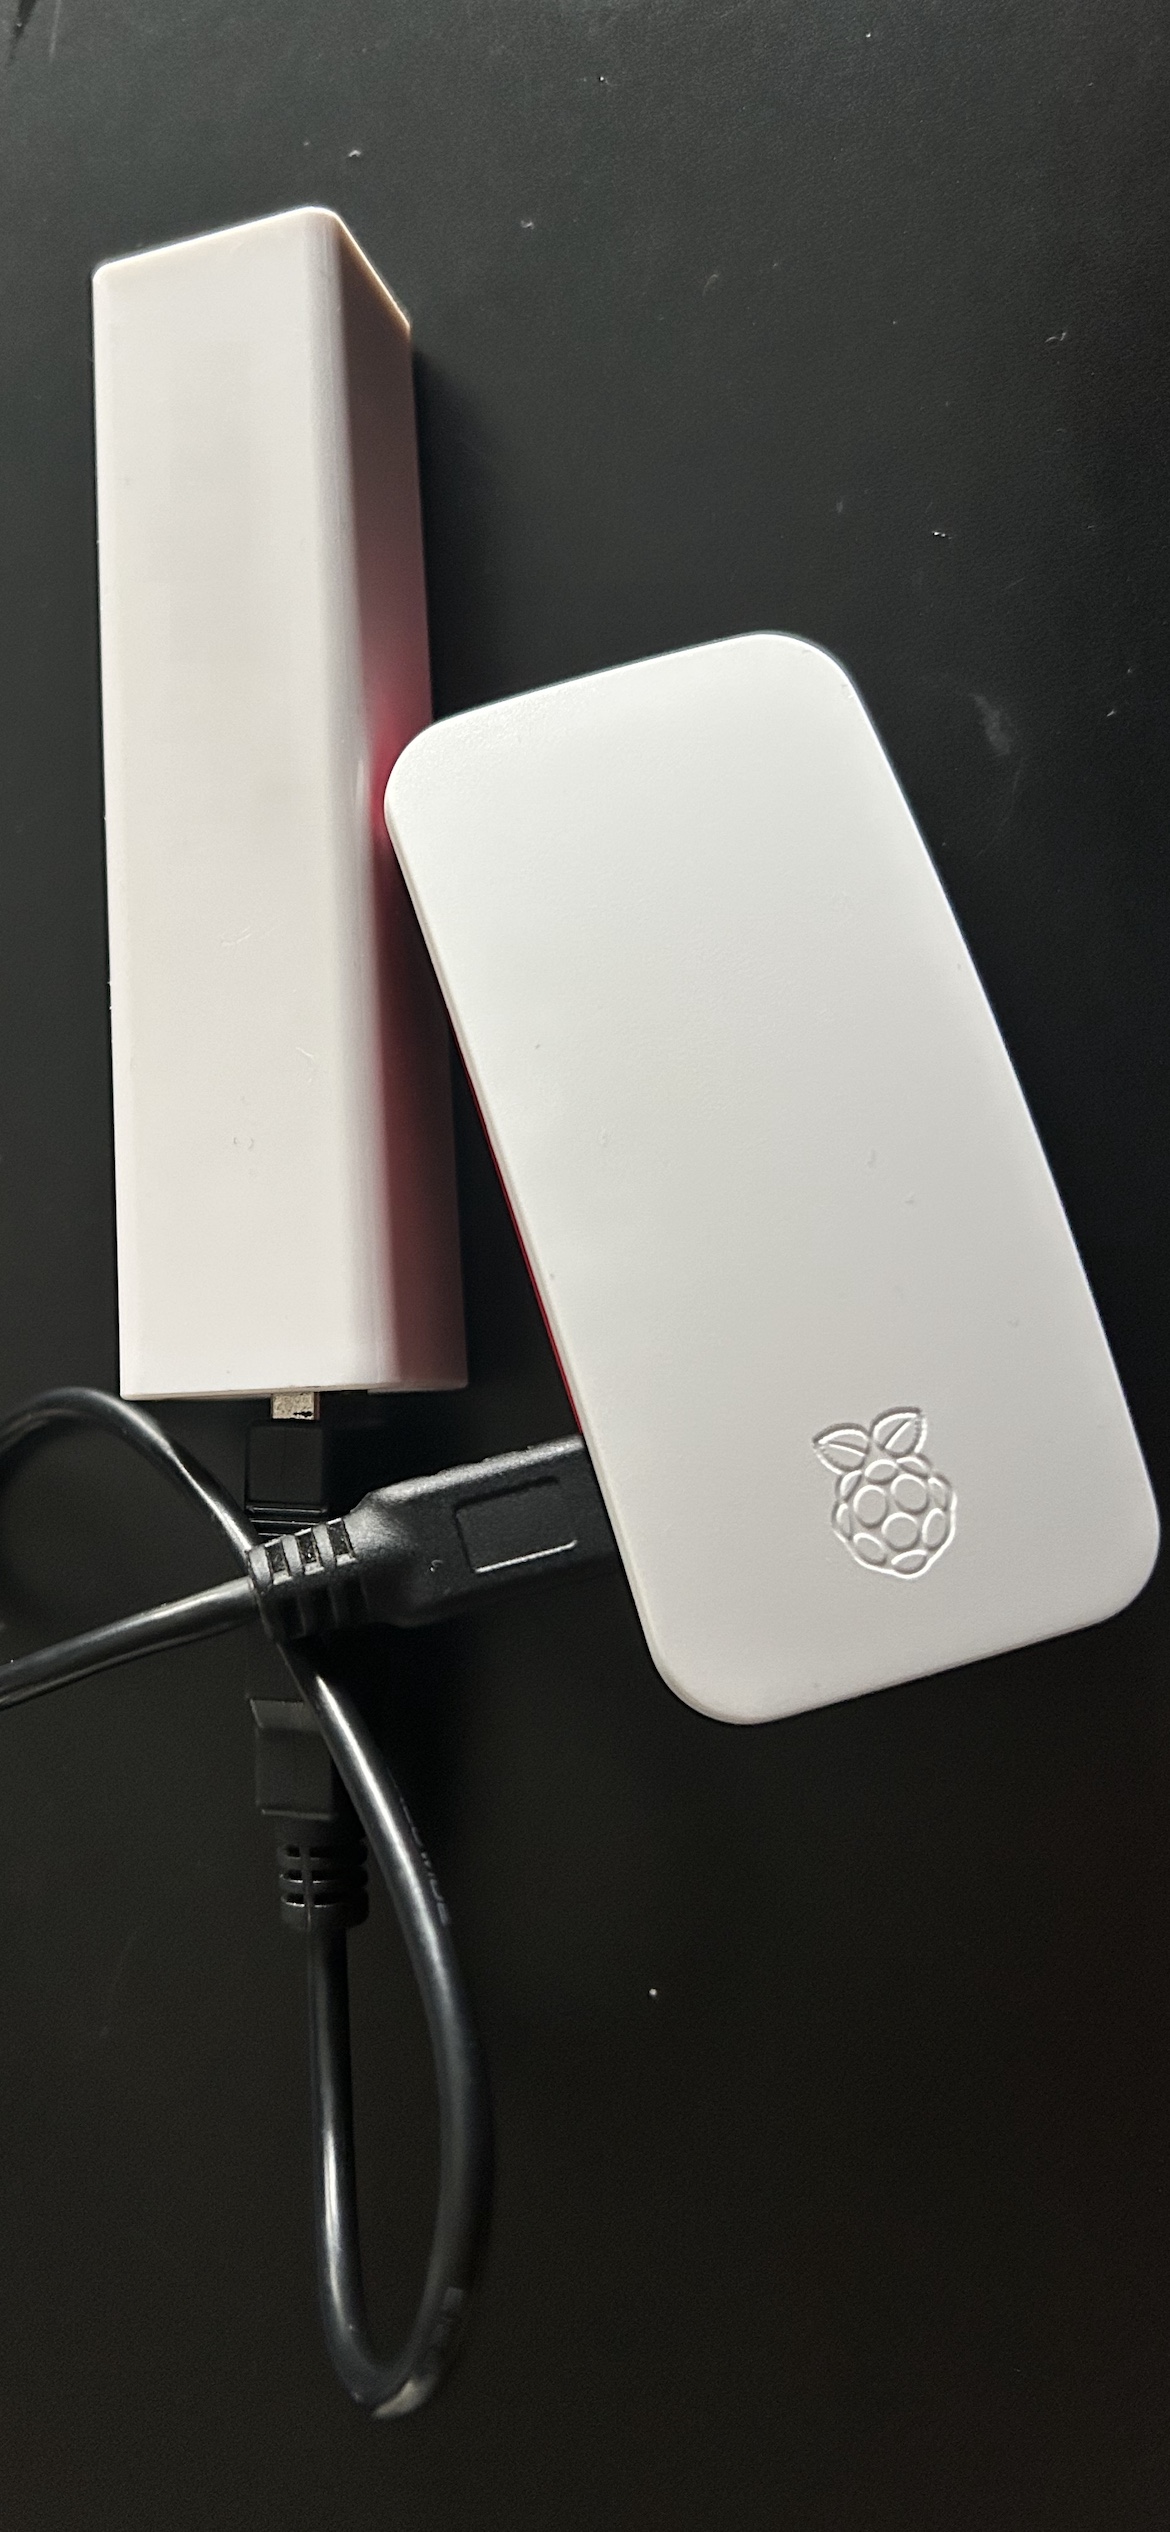
So a few weeks ago I got a newsletter from my local Raspberry Pi reseller stating the Pi Zero 2 was back in stock and something clicked for me: what if I run Canastra on the Pi, so wife and I can play it on the airplane when we’re travelling? The project is already in Go, so cross-compiling for ARM should be trivial. So I bought the Pi Zero, together with the official case, for a bit less than 300 SEK.
Challenges
Booting
In my first attempt I dd-ed the Raspberry Pi OS Lite to a SD card and booted in the Pi, just to realize that it uses mini-HDMI (as opposed o micro-HDMI from the Raspberry Pi 4B) and I did’t want spend any more money in this project. The latest versions of Pi OS will prompt you to create a user during the first boot, so just touch ssh in the boot partition isn’t enough, as there isn’t a user to login yet. Thankfully the Pi Imager is able to produce a SSH-able image, although it is quite annoying that you have to use a special software instead of just dd if=pi-os.img && touch /mnt/boot/ssh.
Wi-Fi AP
There are several great tutorials for how to turn a Raspberry Pi into a Wireless access point, and the steps are roughly 1) run hostapd; 2) run a DHCP server; and 3) IPTables for routing. While there is nothing out of the ordinary here, the fact that I only had SSH access to the Pi Zero meant I couldn’t get hostapd running because I was relying on the Wi-Fi connection to SSH into it, and bringing hostapd up meant this connection would drop. I ended up plugging the SD card into a Pi 4B, chroot into the SD card, run all the commands, unmount, plug it back into the Pi Zero. Some screw-ups meant that the Pi Zero would boot but not connect to my home network neither create the AP, so I had to do this steps maybe 3 or 4 times until I got it right.
The DHCP server I ran with dnsmasq, mostly because I also wanted to run a DNS server to be able to configure a Captive Portal. Given the only use of the Pi Zero will be for the game, I just redirected everything to the Go application using address=/#/192.168.1.1 and added extra checks in the Go side for the redirect:
type CaptivePortalHandler struct {
	handler http.ServeMux
}

func (c *CaptivePortalHandler) ServeHTTP(w http.ResponseWriter, r *http.Request) {
	if r.Host != os.Getenv("HOST") {
		url := fmt.Sprintf("https://%s/", os.Getenv("HOST"))
		w.Header().Add("Location", url)
		w.WriteHeader(302)
		w.Write([]byte{})
		return
	}

	c.handler.ServeHTTP(w, r)
}

// on func main()
    http.ListenAndServe(listenAddr, &CaptivePortalHandler{handler: *handler})
Data storage
Canastra in production uses a PostgreSQL database to store all the game events, a single row for each event/player action. It’s not that the Raspberry Pi wouldn’t be able to run Postgres, but I wanted to store the events in a file in disk for this case, mostly so I could experiment supporting multiple persistence layers in Go. For that, I refactored my persistence layer in a way that I could support both Postgres and JSON files, just replacing the DATABASE_URL environment variable, so the changes between production and the Pi Zero build would be minimal.
Given this project doesn’t use CGO, compiling was a simple matter of using GOARCH=arm64 and uploading the binary to the Pi.
Results
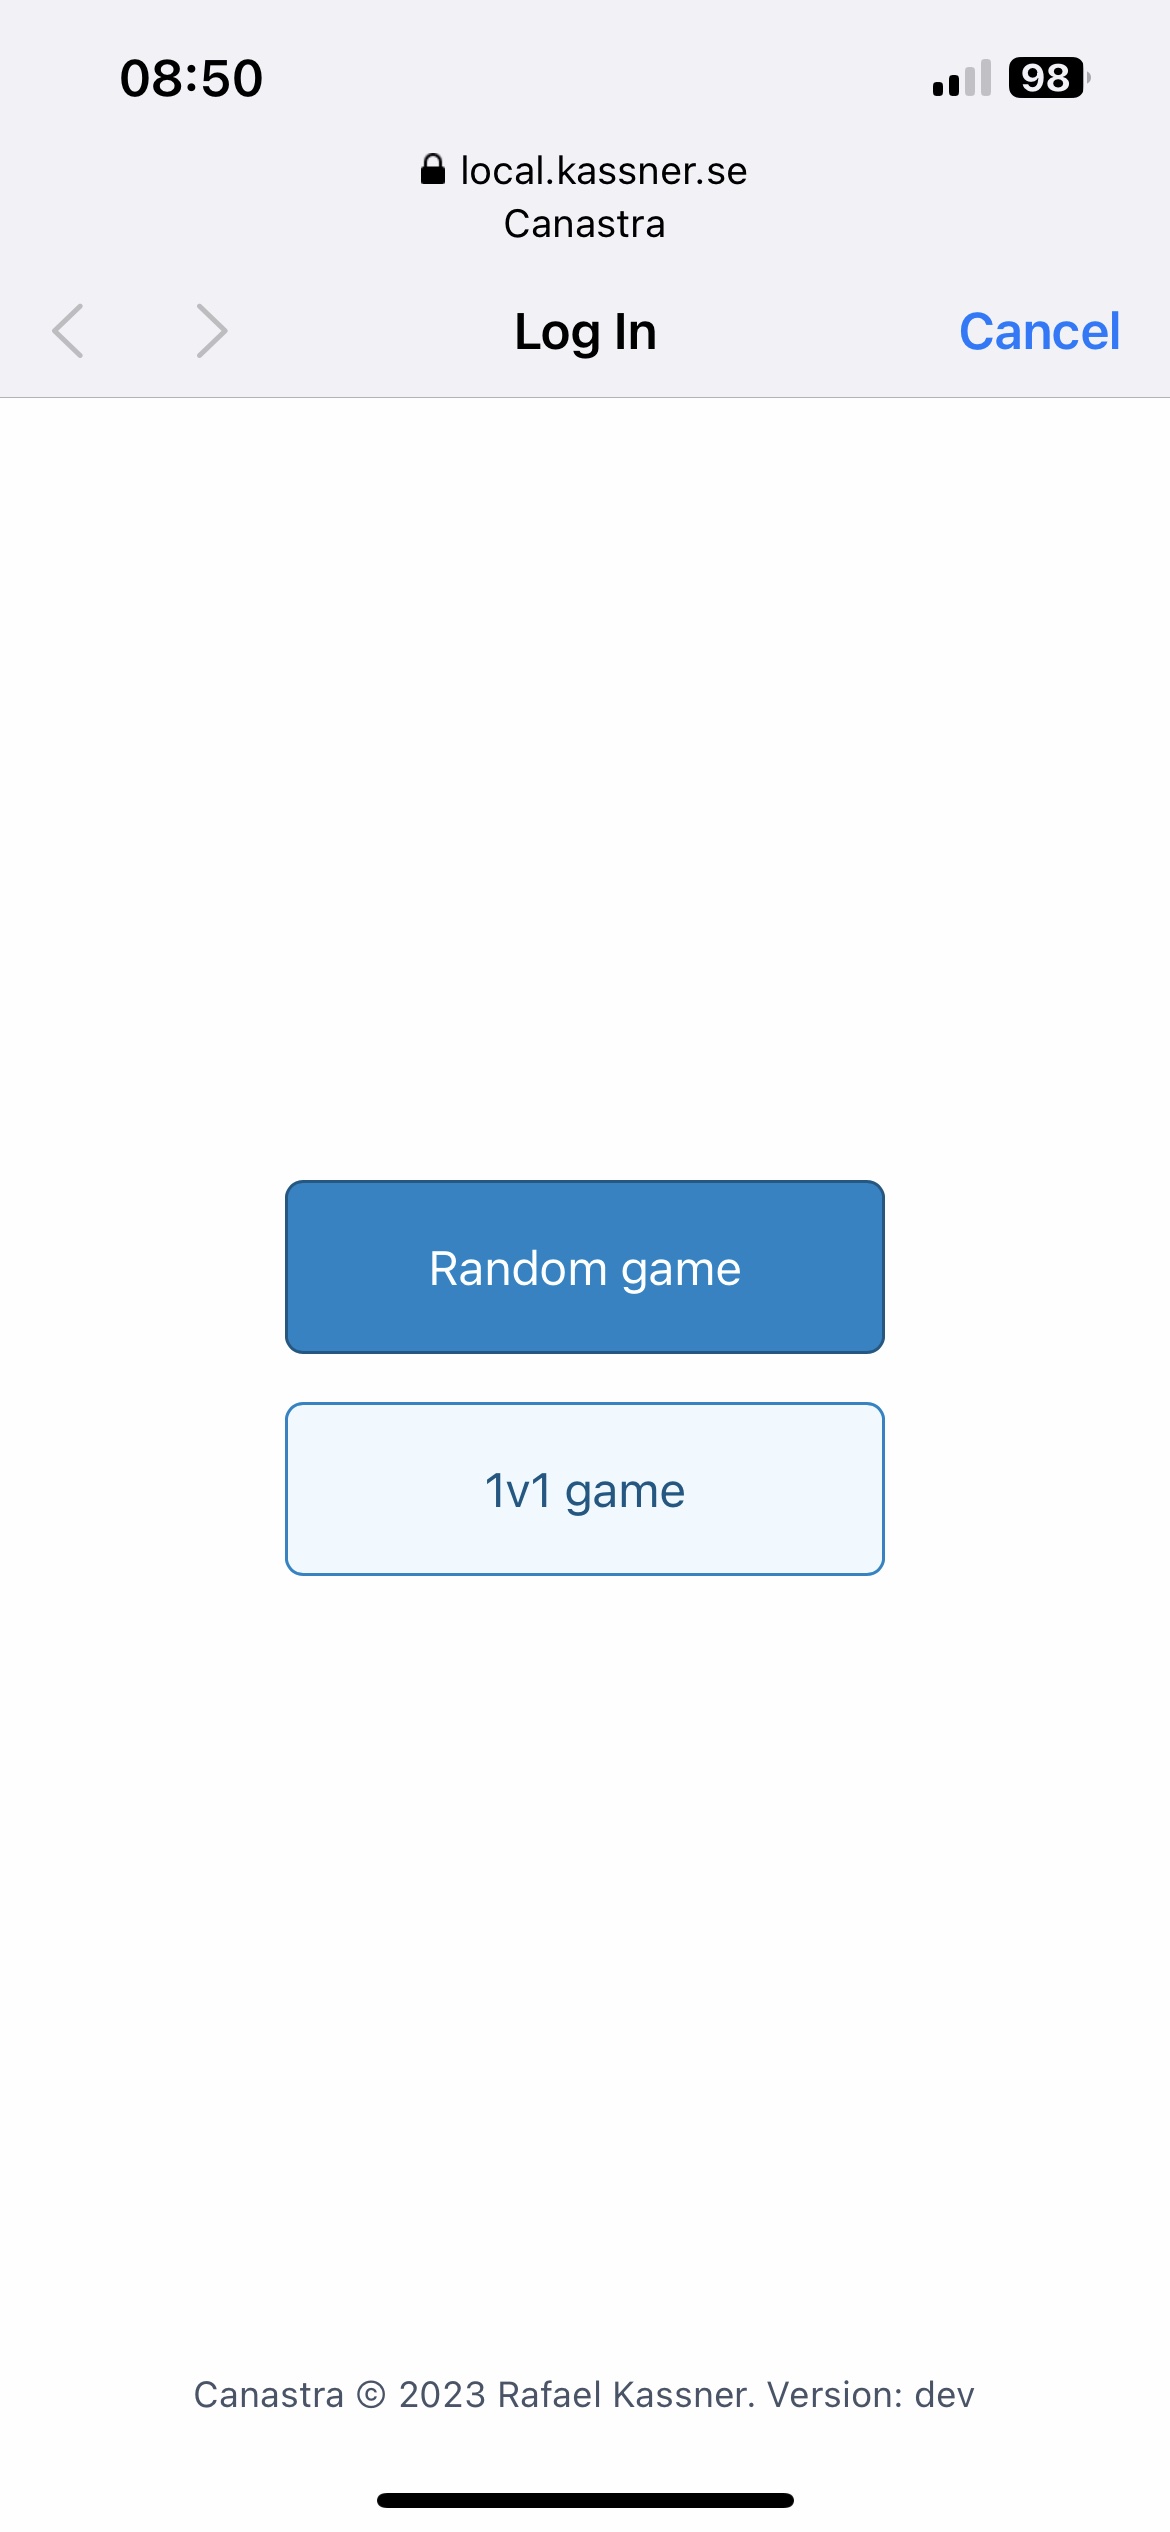
I did a test run last night and it was successful!
The game works as intended, I can see no performance differences, even saving the events to the SD card.
Given the power requirements for the Pi Zero are quite low, I can run it from a powerbank for several hours, or even from the USB port on the in-flight entertainment. I’m already looking forward for our next trip in December, I’ll report back here then with a quick update.
Thank you!


